
In the previous episode, we looked at Filters in ASP.NET. Today, we’ll look at Middleware, a similar and related mechanism in the ASP.NET web framework. Consider a manufacturing pipeline where raw materials enter one end of the pipeline, undergo various processes and transformations at various stations in the pipeline until finally, a finished product surfaces at the other end. ASP.NET framework functions in a very similar way. An incoming HTTP request is passed through various middleware that affects the input and/or output in some way until the final response is sent back to the client. We saw the same thing when looking at Filters but that construct only exists within the context of ASP.NET MVC and the handling of routes or endpoints. Middleware operates at a higher level in the stack allowing you to intercept and affect requests even before a particular route is selected for handling the request.
Let’s look at how to go about creating our custom middleware in ASP.NET.
Create Your First Middleware
To follow along, create a brand new ASP.NET web application. If you are familiar with the dotnet CLI, you can create a new one by using the command dotnet new web. Change the boilerplate code in Program.cs to match the version below:
var builder = WebApplication.CreateBuilder(args);
var app = builder.Build();

app.Run(async (context) => await context.Response.WriteAsync("Hello middleware!"));

app.Run();
Run the app and visit the root of your web app in your browser:

Now make up any route that you can think of and navigate to it… your web app returns the very same output:
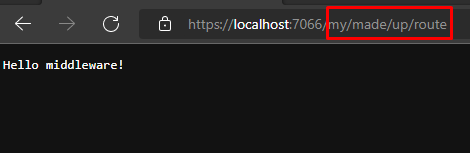
Congratulations! You have made your very own custom middleware in ASP.NET! It may not be a particularly useful one but it illustrates a point – you have created a handler that intercepts every single request that comes into the pipeline and provides the same output of “Hello middleware!”. In this particular example, we have created what is known as inline middleware. You can create something a bit more elaborate by creating a couple of standalone classes.
Create Middleware in a Separate Reusable Class
using System;
using System.Collections.Generic;
using System.Linq;
using System.Text;
using System.Threading.Tasks;

namespace MiddlewareExamples
{
    public class MyAwesomeMiddleware
    {
        private readonly RequestDelegate next;

        public MyAwesomeMiddleware(RequestDelegate next)
        {
            this.next = next;
        }
        public async Task InvokeAsync(HttpContext context)
        {
            context.Response.Headers.Add("my-custom-header", DateTime.Now.ToString());

            // call the next delegate/middleware in the pipeline
            await next(context);
        }
    }

    public static class MyAwesomeMiddlewareExtensions
    {
        public static IApplicationBuilder UseMyAwesomeMiddleware(
            this IApplicationBuilder builder)
        {
            return builder.UseMiddleware<MyAwesomeMiddleware>();
        }
    }
}
In the example above, I’ve create a MyAwesomeMiddelware class. This class gets a RequestDelegate parameter through its constructor, injected at runtime by the ASP.NET Dependency Injection engine. My class implements an InvokeAsync method that does the real work of the middleware. In my simple example, it simply adds a custom HTTP header, aptly named my-custom-header to the response with the current date and time as its value.
The only other work this method is doing is simply invoking the next handler in the pipeline: await next(context); This is also an important part of the middleware pipeline – handing off control to the next middleware in the pipeline. This is probably what you want to do in most cases so that each middleware in your application can do its own work in creating the HTTP response until the final product is returned back to the caller. However, you also have the option of short-circuiting the pipeline by not handing off control to the next middleware but ending and sending out the response.
You’ll also notice a second class in my example above – MyAwesomeMiddlewareExtensions. This static class contains an extension method – UseMyAwesomeMiddleware which we’ll use in Program.cs to wire up our custom middleware into the ASP.NET pipeline. That’s done in Program.cs, like so:
using MiddlewareExamples;

var builder = WebApplication.CreateBuilder(args);
var app = builder.Build();

// wire up my custom middleware
app.UseMyAwesomeMiddleware();

app.Run(async (context) => await context.Response.WriteAsync("Hello middleware!"));

app.Run();
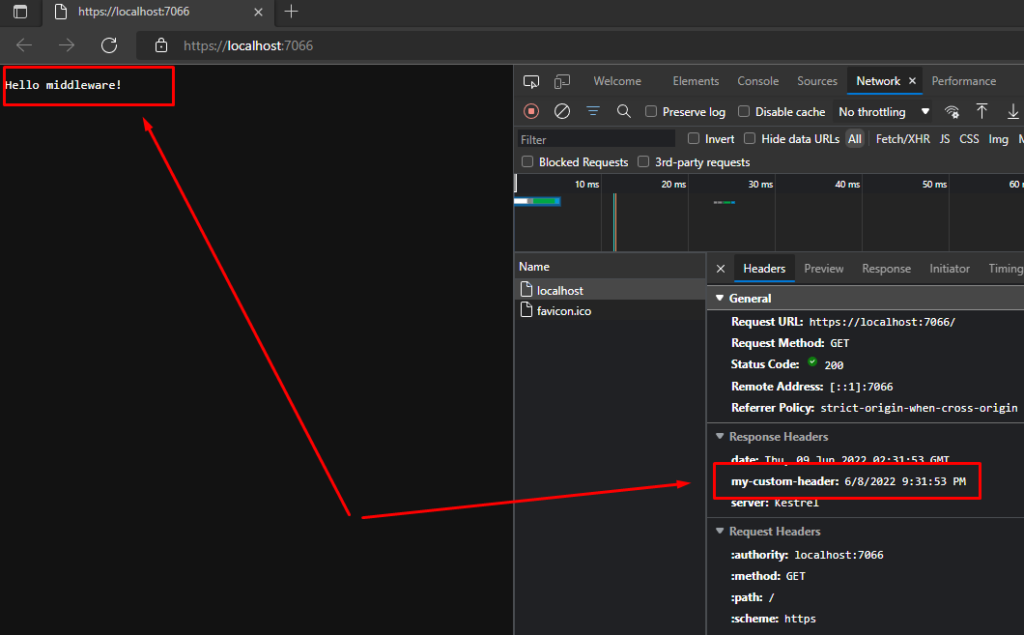
When you run the web application, take note of two things:
- Our custom
MyAwesomeMiddlewareclass was invoked by the pipeline. You can see the custom HTTP header in the response. - That middleware successfully handed control off to the next middleware in the pipeline which is our original inline handler that sends a “Hello middleware!” response to any request that comes in.
Closing Thoughts
Middleware is a fundamental pillar in the ASP.NET Web Application framework. It’s everywhere. ExceptionHandler, HSTS, HttpsRedirection, Static Files, Routing, CORS, Authentication, Authorization are all middleware provided by the framework that we simply wire up and use in our ASP.NET applications. They work in tandem, taking care of various responsibilities in servicing an incoming HTTP request. Today, we have learned how to implement our own that we can inject into the pipeline, as well. As with filters, when you come across cross-cutting concerns in your application logic where you must handle incoming requests in a larger context than at a single endpoint level, consider whether a middleware is the right solution for your problem.